Baby Blankets For Sweet Dreams

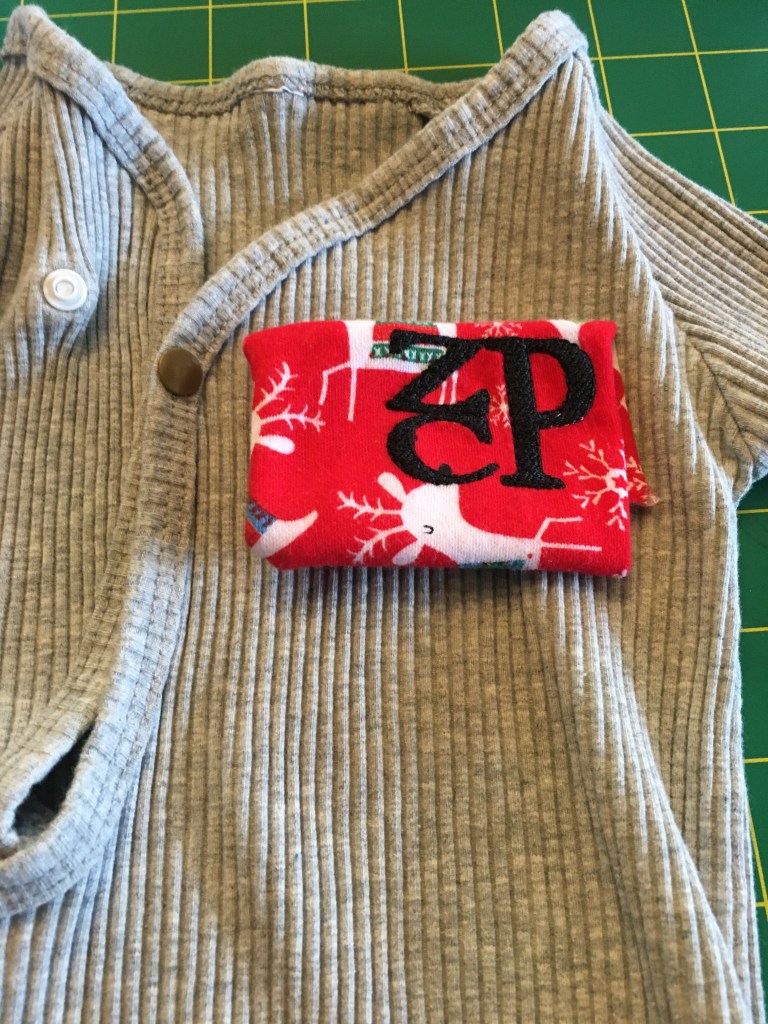
Hello again…it’s me! I promised you some baby blanket patterns awhile ago, so I thought would make good on that now! I have been busy this past year babysitting my youngest grandson, Zach, who is now 17 months old. In this post I am sharing four of my recent baby blankets but there are many more…

Gift box for Zach when he was born. (this picture is the wrong side of the blanket, see below for the design of the top)

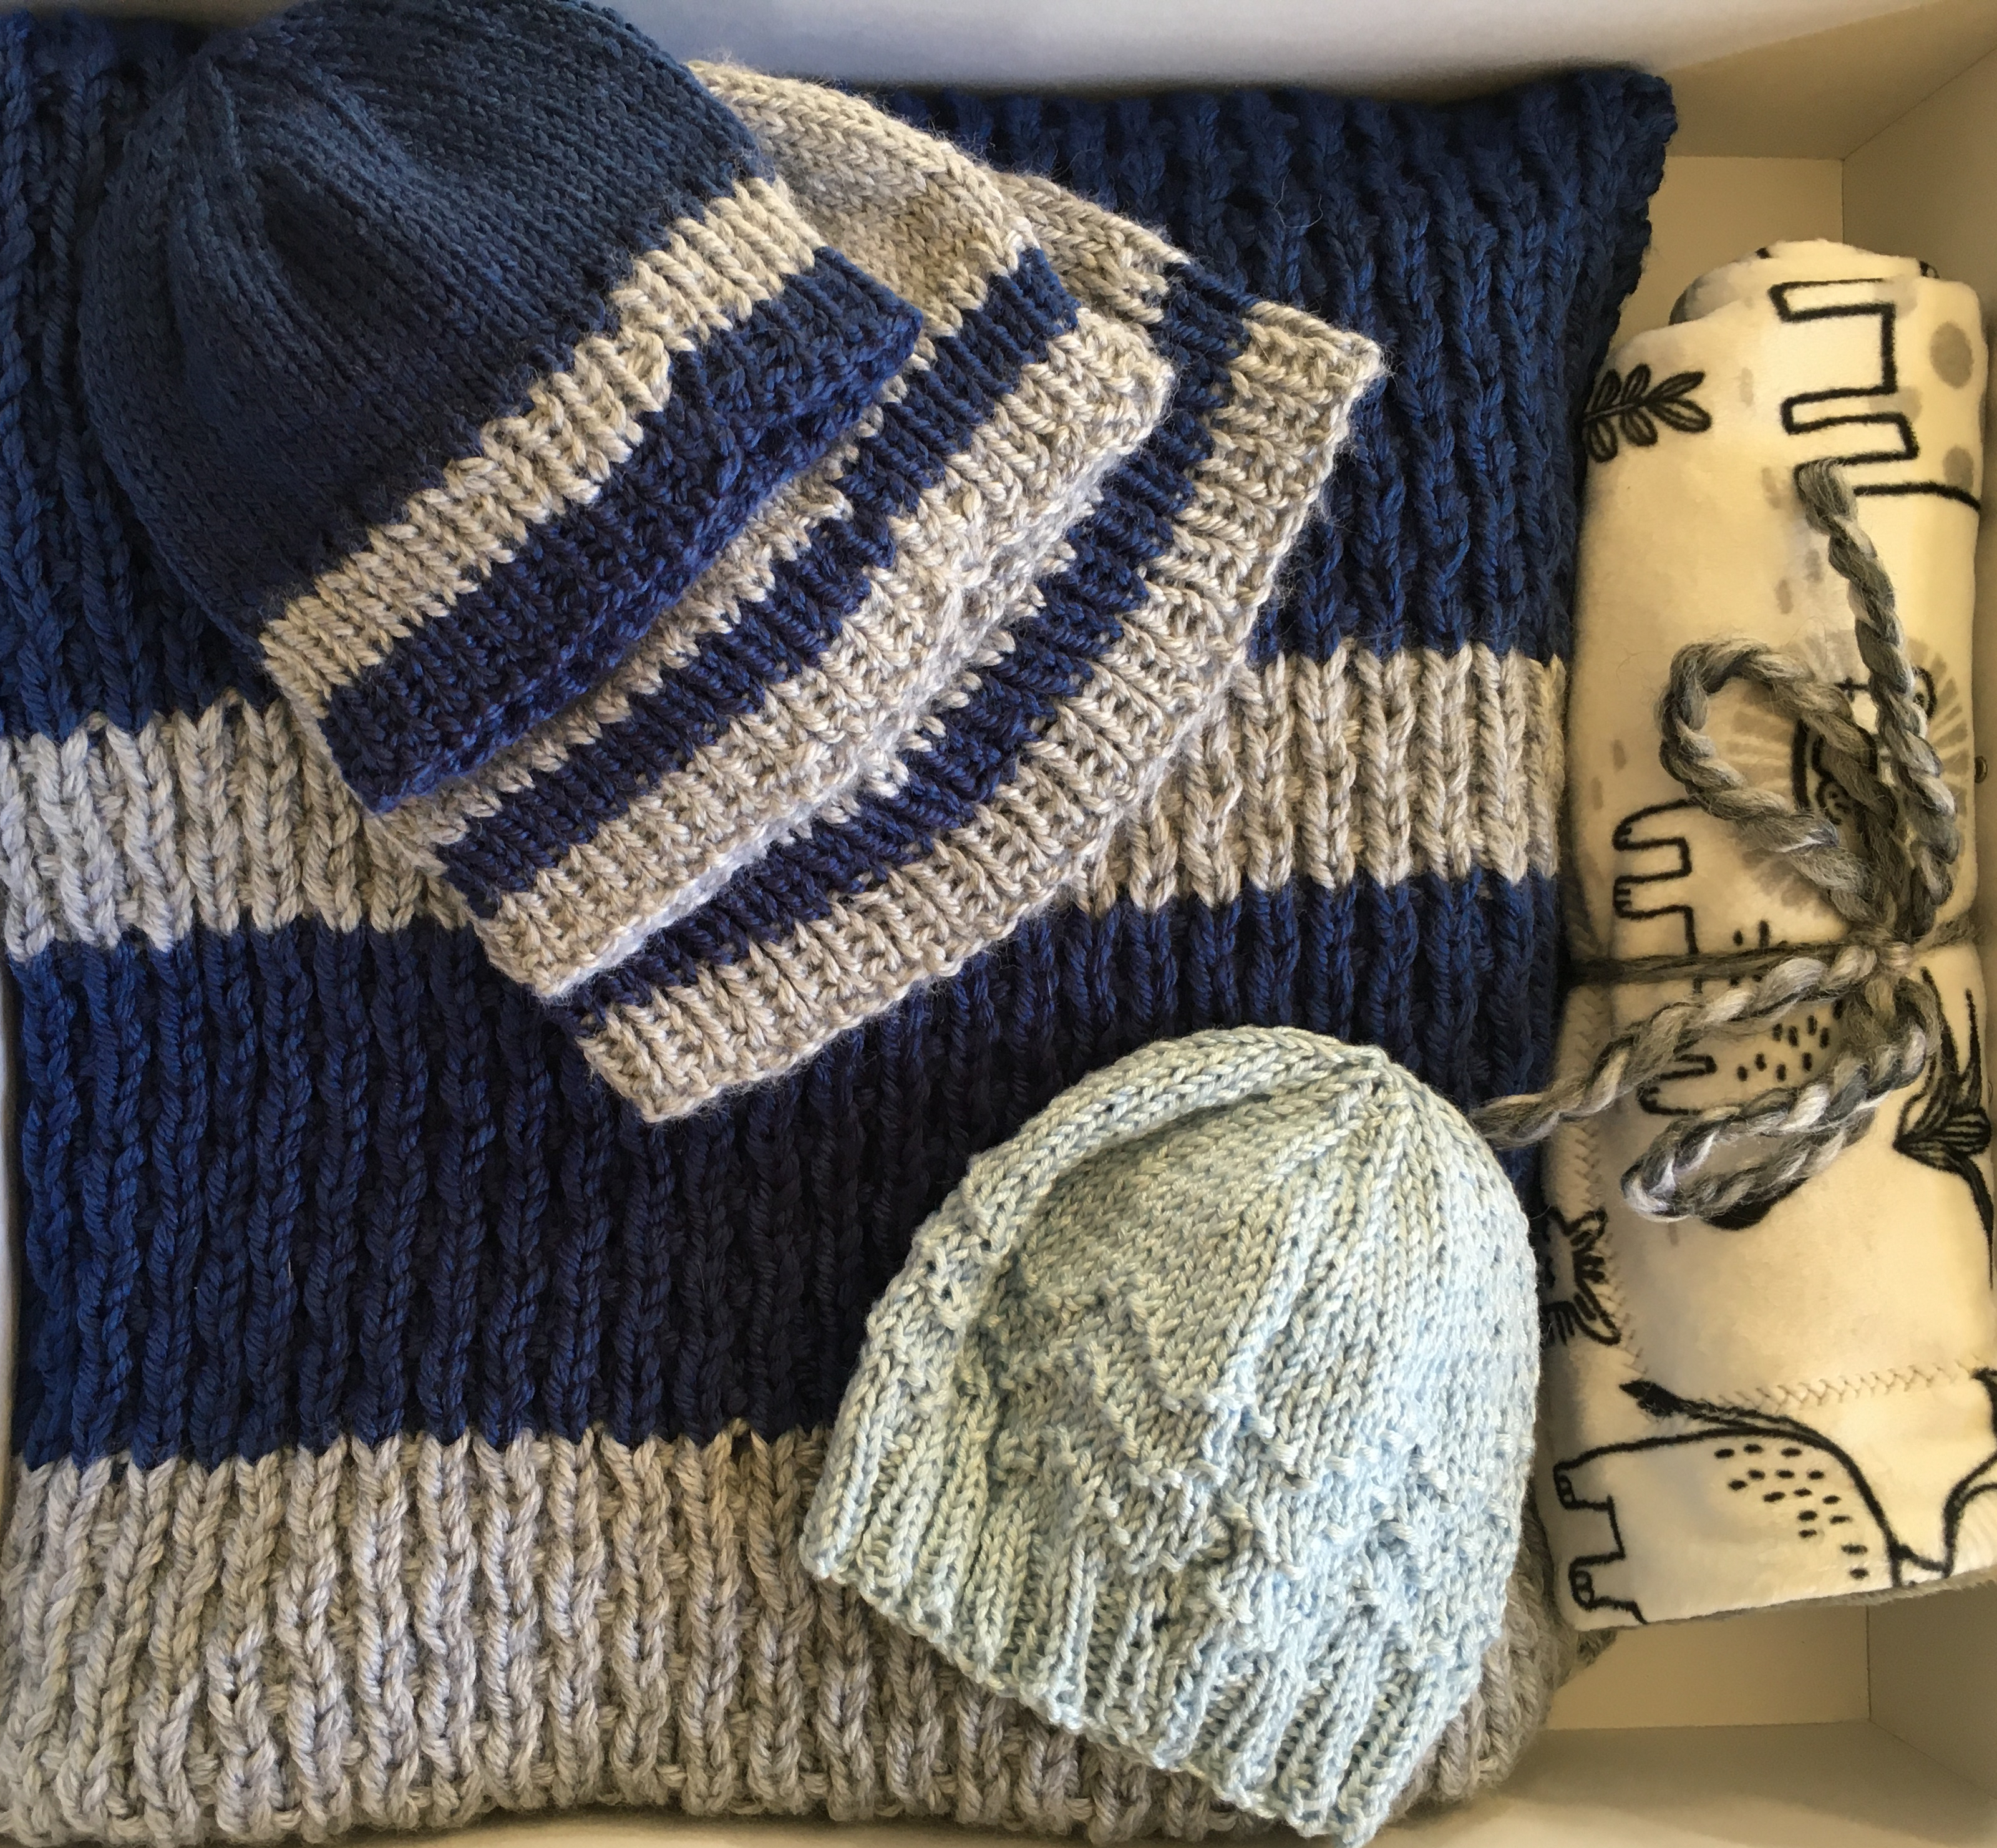
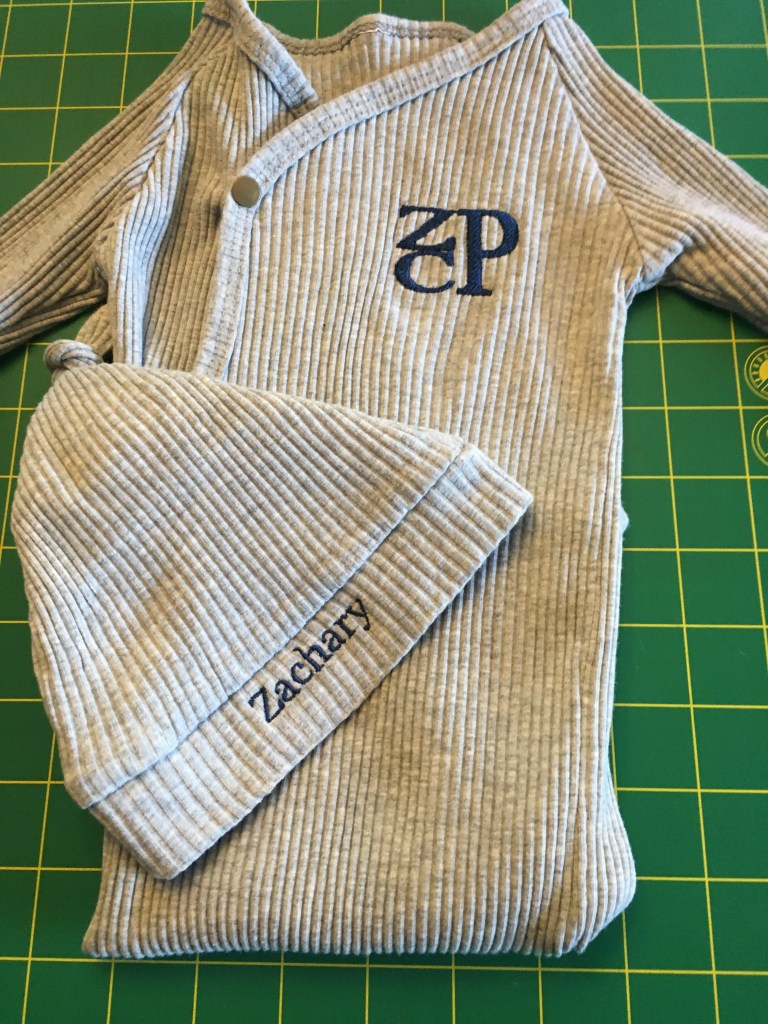
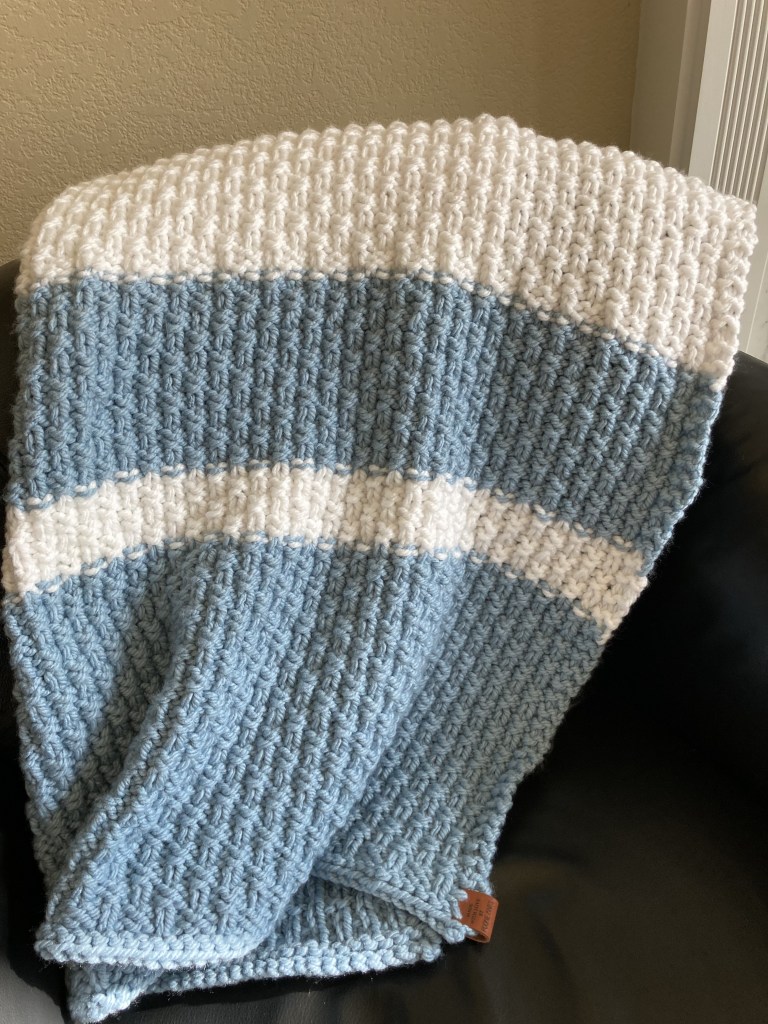
I was so excited about baby boy #2, Zach. I made tons of stuff for him, and I’m just sharing a few items in this post. I love this pattern by leeleeknits.com . For the blue and gray blanket above, I purchased 5 skeins of the blue yarn and 2 skeins of the gray chunky baby, 100% Acrylic yarn. I had extra and made the the multi-color hats. I used US 10.5 size needles. Circular needles work well for heavy blankets such as this project. This type of needle is more comfortable and prevents strain on your wrists and arms when working on items with weight.

Recently my dear niece Katie and husband Nick were expecting their first baby. Below is a baby blanket gift that I made for Baby Max this spring. FYI, Max can expect a few other handmade items in his future. This is a super chunky baby yarn. I went up a needle size using US11 size needles. Baby blankets are my favorite gifts to make. They are always appreciated and thinking of babies gets my creative juices flowing. Feel free to play with patterns and make them your own by choosing colors, textures, and weight of yarn making your blankets one of a kind. Baby blankets can be made in all sizes and the gauge is not so important unless you want to get the exact size as stated in the patterns. I take some creative license with the size. I purchased the same number of skeins, so this one turned out pretty big, crib size.

Blue and White Blanket for baby Max

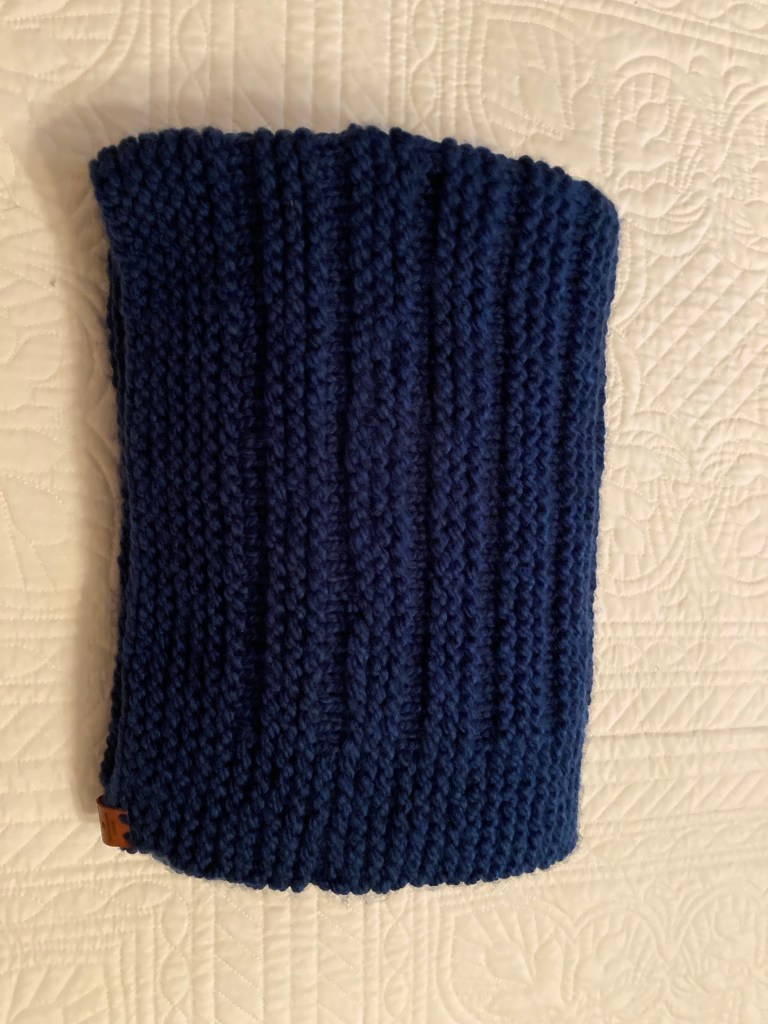
I currently don’t sell items commercially but I was honored when my son asked be to make a PookieKnits blanket for his friends that had a baby boy this last year. The second example is called “Where the Sidewalk Ends” is by FiftyFour Ten Studio and can be found at ravelry.com/designers/fifty-four-ten-studio or etsy.com/shop FiftyFour TenStudio. I used Lion Brand Wool Ease yarn. Making the crib sized blanket took 5 balls and made a nice big chunky style blanket. Size 11 needles using a circular knitting needles helps with the weight of the blanket and prevents wrist and arm fatigue. Great pattern for watching a movie or holding a conversation while knitting. It’s easy to follow knit and purl instructions. I have made 3 other blankets using this pattern in the largest size using an Italian wool yarn that is multicolored, giving a totally different look and feel.

Blue Baby Blanket by Pookieknits.com
Another view of the Where the Sidewalk Ends blanket. The solid blue really shows the pattern well.

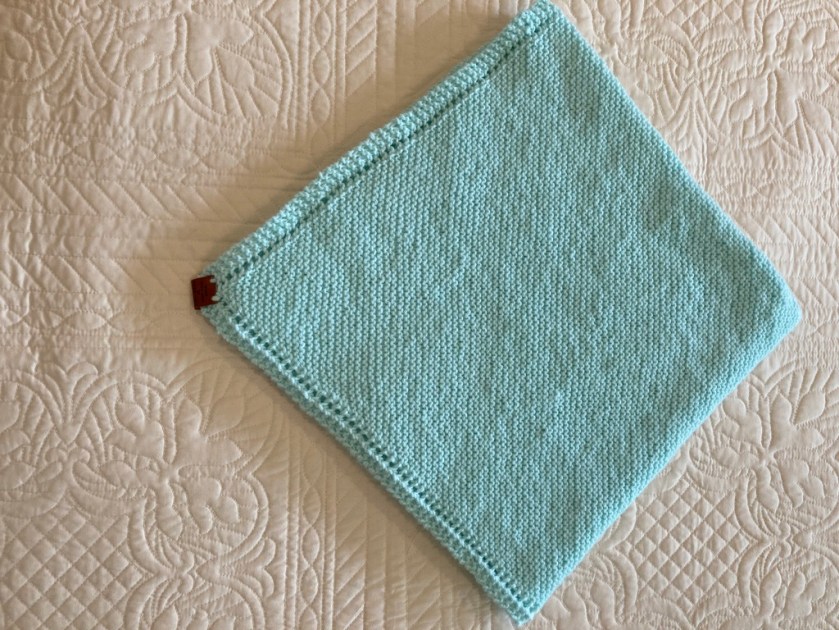
We have developed lots of friends over the years but some of the dearest are our soccer parent friends. Now that we are all be coming grandparents, I find lots of reasons to make baby gifts. The next blanket was made for a traveling high school soccer team mate of Angela’s. This pattern is for those of you who like to make things by increase and decrease on the diagonal. The blanket is similar to the Front Porch Shawl in one of my previous blogs. I love the border that this pattern creates. A simple but elegant design.

I had fun with this pattern, I was curious if this could really be made from a single ball of Lion Brand Pound of Love. Yes it can be done!

  • LION BRAND POUND OF LOVE®
  • 1 ball
  • Large-eyed, blunt needle
  • Circular needle size 8 [5 mm] 24″

SIZE:
30″ square

Pound of Love Diagonal Baby blanket can be found at Joann’s website
Fox themed baby gift, I embroider and sew the burp cloth and bib too!
Bernat Basketweave Baby Blanket

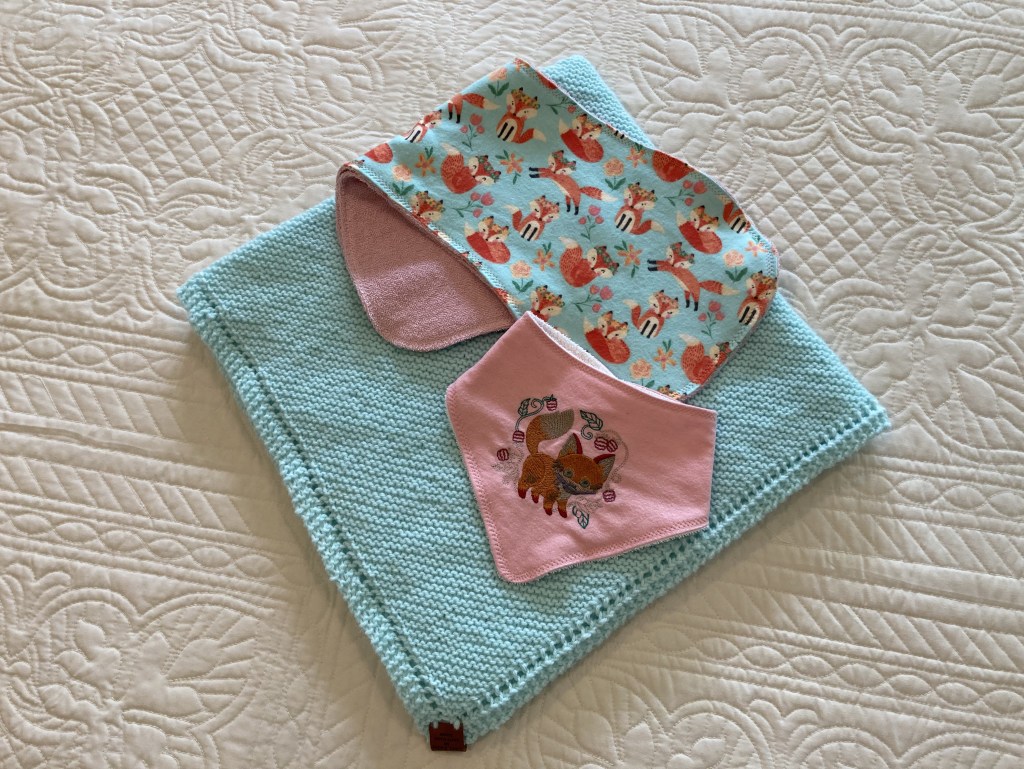
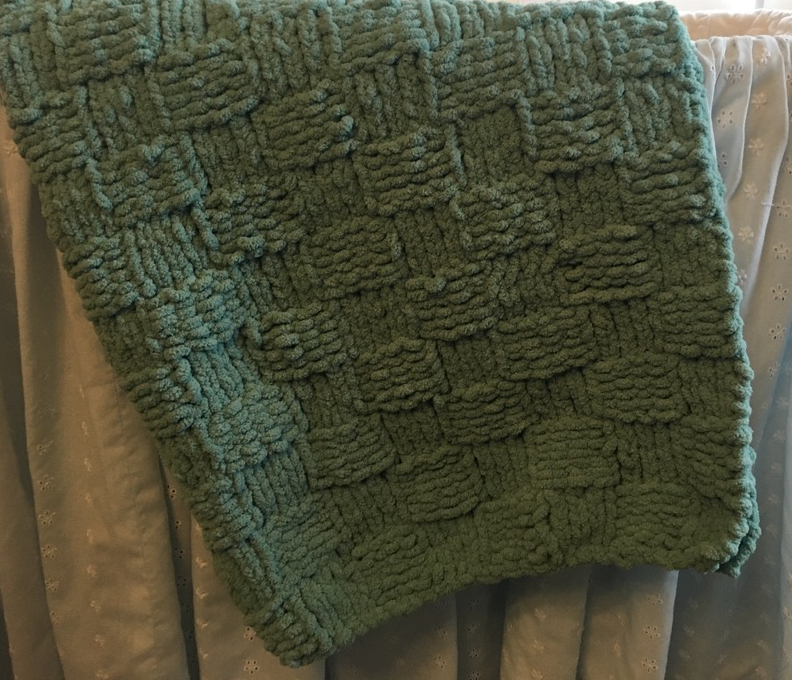
Last but not least is another blanket I made for Zach. I took a picture of it draped over the bassinet I used for both Tony and Angela. Years ago I made the blue eyelet skirt with quilted lining for them to sleep in their first days.

I love a good basket weave baby blanket. In a previous post, “Why I Knit”, I tell my story of how I came and returned to knitting, which is also a basket weave. The above pictured pattern you can find the pattern at Yarnspirations. This blanket is made using 2 balls (390 yards) of Bernat Baby Blanket, 100% polyester yarn and US 11 size needles. I use 100% acrylic or 100% polyester for most of the baby blankets I make, because they are machine washable and dryable. I always recommend cool water wash and low heat for drying.

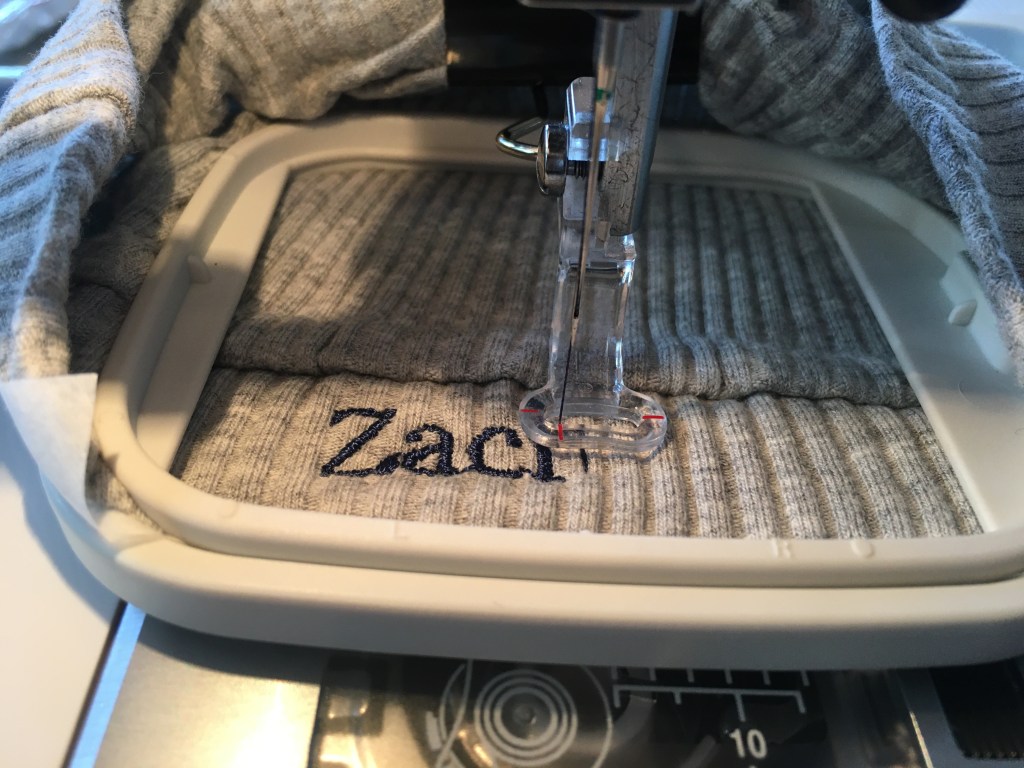
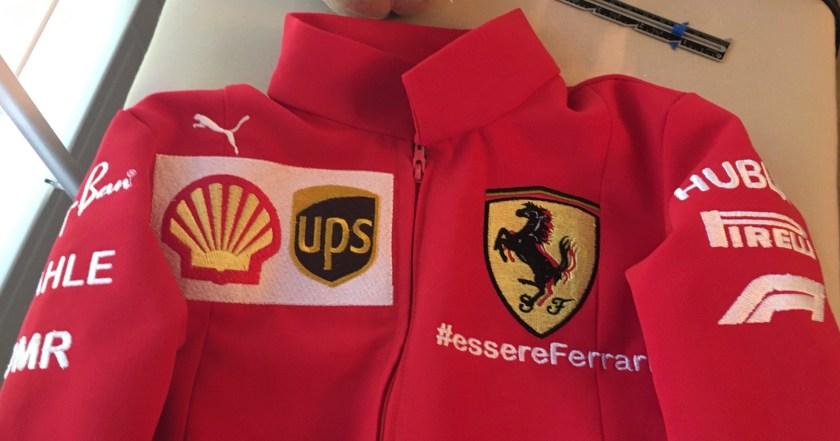
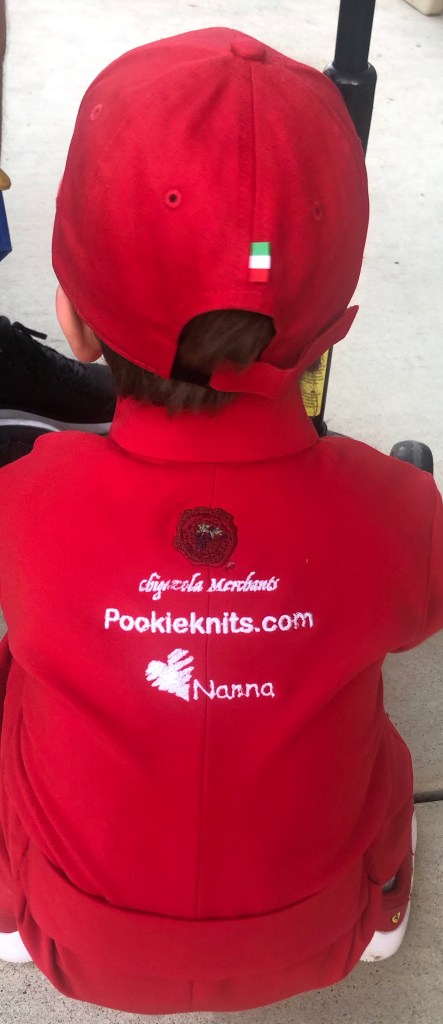
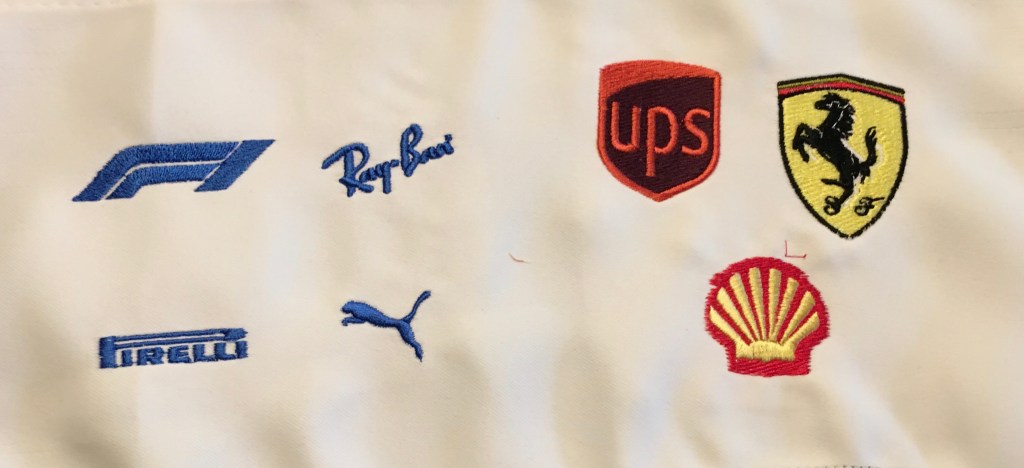
I have been busy with lots of projects including sewing, embroidery, and knitting. I will share more ideas soon.

Keep knitting and sewing,

Love, Debbie

Sewing Monograms and Jackets for Children and Babies

Grandson Lucas is the perfect model for this blue fleece. It is great for a cool day at the park. The pattern, a Kodiak pullover, was easy to follow and took only a few hours to make. The pattern is from peek-a-boo patterns and can be found at: https://www.peekaboopatternshop.com/kodiak-pullover/ I used blue fleece for the entire pullover, but you could use contrasting cotton for the trim and placket. It has a snap closure on the placket. This was a challenge using fleece but doable. I will probably use a contrasting cotton knit for the placket on the next one I make.

This pattern is 6 months to 12 years old and rated intermediate skill level. Once you make one you will want to make one for everyone on your holiday list. Yes, I have been thinking that it is time to start on the gifts for December.

The embroidery was done using my Janome 350E machine on the left front before I put the jacket together. I like the personal touch and I think it looks preppy.

The jacket above is a little big for baby Zach. Zach is my youngest grandson and is now 4 months old. This small size may fit him around 6 months. It seems that traditional patterns run large. The see & sew pattern, B6364 below, was super easy. I used the same blue fleece as the toddler Kodiak pullover. The monogram was done on the left side before the jacket was sewn. The jacket zipper needed to be modified by cutting to the exact size. Zippers can be cut to the size you need and new stop ends added to the garment for the finish. I used a small eyelet and bent it to the shape needed using jewelry pliers.

The embroidery for the jackets was done with a medium tear away stabilizer and size 80 needle. Using digitizing software, I selected Georgia font for the monogram on both jackets. Next I embroidered the purchased knit gown and hat (below). It is recommended to use a size 70 ball point needle on knits. This will reduce hole size and distortion in the embroidery. I like to use an iron on medium weight stabilizer that is wash away on t-shirts and other knit fabrics.

Above Zach in his 1 month picture, so precious! Yes, I knit the blanket and I will discuss that in my next blog.

I have been busy making lots of items for these two adorable grandsons and will share more projects soon.

Keep knitting and sewing,

Debbie (AKA Pookie and Nanna)

Sew a Toddler Formula 1 Driving Suit

Lucas, Halloween 2020, Driving suit by Pookieknits.com (aka Nanna) “I’m a race car driver!”

I cannot believe we are in the Holiday season. My Christmas decorations are almost all up and it is time to reflect on Thanksgiving and Halloween. The holiday season always goes so quickly, and though we had a quiet Thanksgiving, we have been taking time to celebrate whenever we can. This Thanksgiving, I am truly grateful for the health of my family and friends.  We saw our grandson on Halloween and I want to share the costume I created for him.

I used McCall’s pattern 952.

Using the smallest size, it was still very baggy, as it looks in the cover of the pattern. I took it in at least 2 inches on each side and had him stand for two fittings during the month before Halloween. I don’t think I have ever had two fittings, not even for my wedding dress. Lucas was very cooperative and was quite surprised when he looked in the mirror at the final product. He said, “I’m a race car driver!”

These are the sponsors of team Ferrari on the front and sleeves.

It took some online research to learn about the Ferrari team and their sponsors. Chairman John Elkan  says that Ferrari represents, ” Pride of a team capable of bringing together the best of Italy, as well as creative, enterprise, ingenuity, and heart.” I choose to leave off the Phillip Morris logo, thinking that it was not appropriate for a toddler’s Halloween costume. Upon further online reading today, I see that it has been a big controversy internationally,” and I noticed while watching yesterday’s Formula 1 race that it is no longer on their driving suit. Yes, it is never too late to learn to appreciate a new sport!

I took some creative liberties on the back and placed family logos.

Some of the logos I got from embroideres.com and I used Artistic Digitizer 1.5 software to type some of the company sponsor initials, make the Italian flag and work on placement and design to mimic the official Ferrari driving suit.

These are the logos that I purchased from embroideres.com …Practice run!

I recommend always doing a practice run of the embroidery designs. This was done on a 100% polyester scrap of fabric similar to the red fabric for the garment. The embroidery was completed using medium stabilizer and a size 80 needle. The practice run was a scaled down version and adjusted before the final product. An additional tip is to remember to do all the embroidery before sewing the garment together.

Lucas and Nanna Halloween 2020!

This was an extremely fun and rewarding project. A huge success, earning lots of hugs from Lucas. It was so special to share in Halloween play with him. I hear he wears the driving suit often, especially to watch Formula 1 racing with his dad on TV. I have learned so much about Formula 1 and have a new appreciation of the sport through the eyes of a toddler.  I also appreciate “Essere Ferrari” as defined by Mattia Binotto, Italian engineer for team Ferrari, “It means having the courage as well as integrity, passion, and determination.” Words we can all live by during this pandemic.

Stay safe my friends and keep knitting and sewing…

Happy Holidays!

Deb

Backpacks and Pouches for Kids

I started to title this post “Back to School Backpacks” but decided against that since many children will continue to study online this fall. The backpacks are still fun to make and could brighten the day for the youngsters in your life. I have made two of these for my grandson using embroidery designs that are some of his favorite things.

Drawstring backpack with our solar system planets, sun, and moon.

Lucas loves planets and space right now and this backpack was a big hit. So that the planets would stand out and be colorful, I made it from black denim. I researched each planet online and did my own interpretation of what colors to use. It was a fun project and I still want to brush up on my planet facts to converse with Lucas on one of his favorite subjects. Yes, homework to have a discussion with a 2 year old…

The backpack measures 18″by 14″, I cut it on the fold so that the bottom does not have a seam. A button hole is used on each side seam in the casing area to have a reinforced area to put the cording through. The cord is a recycled black cord from an old draw bag. I leave the cords long so that they can be adjusted when Lucas tries it on. The embroidery was done with a size 90 needle and a medium stabilizer.

This is the back side of the project. I use this on all the items I embroider for Lucas.
Lucas Modeling the first prototype, note the size is perfect for a toddler.

The first prototype of the backpack was made of 100% polyester that I had around the house. It turned out nicely but I did not think it would be durable enough for regular toddler use. The drawstrings are extra athletic shoe strings that were in my collection of useful items for future craft projects.

Penguin pouch for small items

The Penguin pouch is about 7″ by 9″. I had a white zipper in my stash that determined how wide to make the pouch. The zipper is placed at the top of the pouch, using a center zipper placement technique. I used the same 100% polyester material. This embroidery design has many layers and made a very thick patch style design. Wash away 1.5oz. stabilizer and a size 80 needle (due to the multiple layers) were used for this project. I regularly use the same easy to read font on all products that I make for Lucas. My theory is that the first words he will recognize are his name and Nanna due to the many items he continues to get from me with these embroidered.

Stay safe my friends and keep knitting and sewing…Debbie

Progress on Chigazola Merchants’ Logo

I have been staying busy at home and working on the family business logo in the embroidery software. The process has included many hours of trial and error even with the best digitizing software. I have spent many days working on getting just the right size and colors. It is really an amazing creative process and basically it is an artistic decision of what I like. It is now presentable. I have embroidered several items and have a few to share with you. I plan to continue working on this product but I am using this for now. I need a break from this project, to let my mind open up to new ideas.

Chigazola Merchants’ logo on kitchen towels

I used a medium weight cut away stabilizer in black for the black towel and white for the white towel. Toweling material requires a light weight water soluble stabilizer on top of the fabric in addition to the regular stabilizer. I also found I needed to use a size 80 needle due to the layers of thread in the logo design.

Chigazola Merchants’ logo on a shirt for my husband, Don

Don likes to wear this shirt on his wine deliveries. I used a light weight water soluble stabilizer, with a nice result. I will be doing a few more of these for him soon.

This is a trial run of the logo for the bathrobes in the guest bath

For the bathrobe material I am using a sticky backed stabilizer because there is a little stretch to the 100% cotton material. I also used a top water soluble stabilizer to keep the texture of the fabric from impacting the logo design.

Other news from my maker’s space are items I have been making for my grandson, Lucas. I will share some of these items in a future post. One of these items is a toddler sized handmade bathrobe with this logo.

I have also changed to the use of pookieknits.com for my blog. No changes are necessary for you if you are already a subscriber. This new name will make it easier to find my site in a web search. Why this domain? My daughter, Angela nicknamed me Pookie when she was in middle school and it is now term of endearment used by my family.

All for now…keep sewing, knitting, and making…Debbie (AKA Pookie)

Learning How to do Machine Embroidery

During this pandemic we are all spending a lot more time at home. Therefore, I decided to buy an embroidery machine and add to my sewing skills. I learned hand embroidery from my mom when I was about 6 years old and always have appreciated the results of machine embroidery. An online search resulted in finding a Janome 350E machine for a reasonable price and a great deal on a software package. My next step was to consult with my sister, who does a lot of beautiful projects with her embroidery machine. It turns out I had selected the very machine that she has, her advice and expertise have been invaluable as I start this new adventure.

My first attempt using the new machine was on a hand towel.

I used lettering and design that were already programed in my machine at purchase and a medium with stabilizing fabric on the back with a clear water soluble stabilizer on the top. There are some issues with the tension that I addressed by decreasing the top thread tension on the next project. As you can see I have a lot to learn and I will share with you my trial and error on this journey.

Second project was to personalize a baby bib and burp cloth.

I love to make baby items and during the pandemic I have made a mountain of things. On this project I used the Artistic Digitizing Software to design this combination of graphics. I used a brighter red on the burp cloth because I like it better for a baby. I think the red I used on the bib is a little dark. I am using a rayon thread with many color choices. I found cotton flannel to be a great fabric to work with as a beginner and I used the same medium weight stabilizer as I did on the first project. I will share my experience sewing the bibs and burp cloths in a future post.

Speaking of the software, I immediately have started trying to create an embroidery file from a JPEG of a family logo. This is quite a challenge and I am in draft #5. I will share this experience with you, once I have a good product.

Monograms on cotton terry cloth

I decided to try another feature of my new machine and made these two monograms on scrapes of fabric. I have cut them down to this size after I took them out of the embroidery hoop. I think this size would be great on a bathrobe as an upper pocket. Monogram towels will make a great gift idea to pursue in the future. I used the medium stabilizer and a top water-soluble stabilizer. The tension is perfect for this fabric. This is the best technique and result I have had with my new machine so far.

All for now…happy sewing and knitting…Deb